How to Deploy Your Own Temporary Email Service in a Couple Minutes
Anyone who has ever tested user registration or password reset in web applications knows this pain. Popular disposable email services like TempMail are packed with ads, their domains are long blacklisted by validators, and personal test inboxes on Gmail quickly turn into a mess.
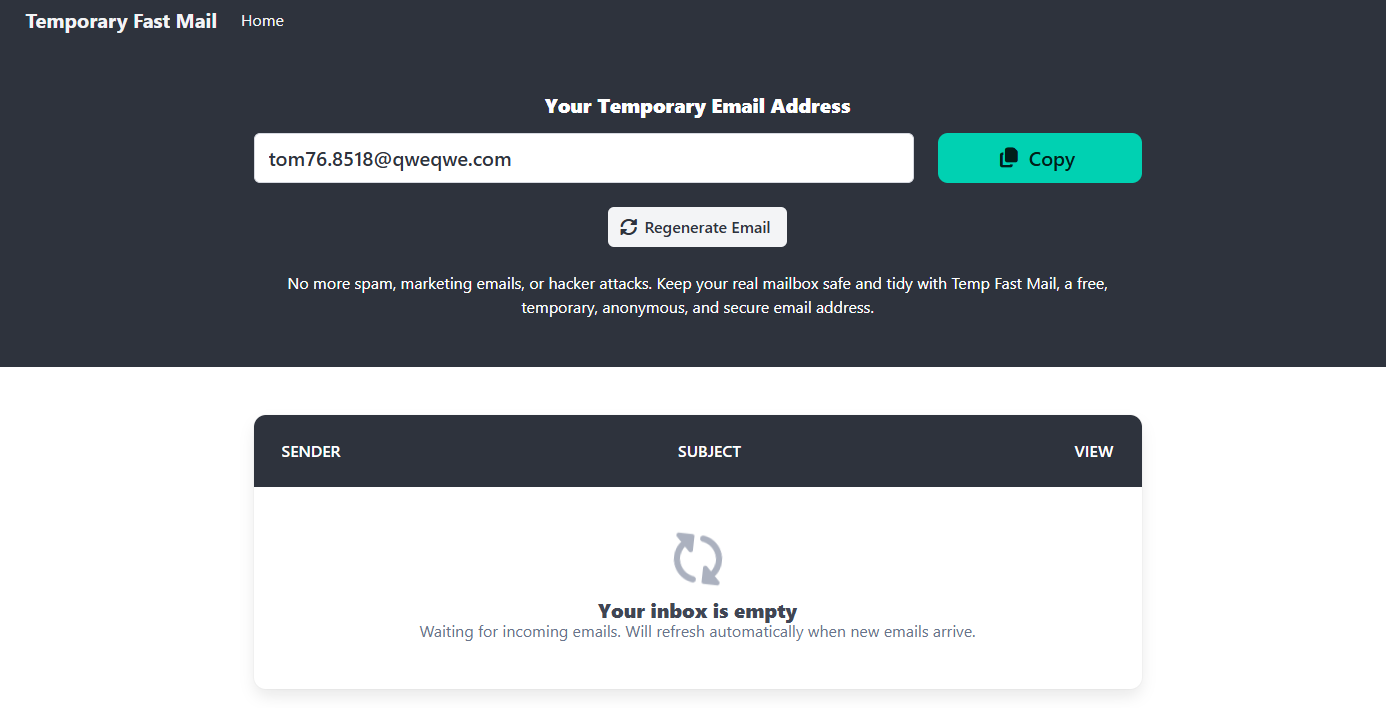
Recently stumbled upon an interesting project called TempFastMail by developer kasteckis. It's a lightweight self-hosted temporary email service that you can spin up on your own domain with literally one command docker compose.
Why Run Your Own Temporary Email Service
Public disposable inboxes are convenient until you run into limitations. First, third-party services can see incoming emails with all confirmation links and tokens. Second, many sites block addresses from known temporary email domains.
A personal instance solves both problems:
- You attach any personal domain that isn't listed anywhere in spam databases.
- All incoming messages stay under your control.
- No captchas, ad banners, or third-party trackers.
- Emails are automatically deleted after 48 hours, so the database doesn't grow.
How the Architecture Works
Under the hood, the project uses a modern stack: PHP backend (based on repository tags, it's Symfony) runs via FrankenPHP, uses SQLite as the database, and the frontend is built with React.
The most interesting detail here is how the author solved the problem of receiving incoming emails. Setting up a full SMTP server like Postfix and configuring MX records becomes a headache for many people. TempFastMail uses Cloudflare Email Routing and a free Cloudflare Worker. An email arrives at the domain, Cloudflare intercepts it and calls your instance's HTTP API. Simple, reliable, and doesn't require opening port 25 on the server.
Quick Start
To get started, you need a server with Docker installed and a domain delegated to Cloudflare.
Create the docker-compose.yml file:
services:
  tempfastmail:
    container_name: tempfastmail
    image: kasteckis/tempfastmail:latest
    environment:
      CREATE_RECEIVED_EMAIL_API_AUTHORIZATION_KEY: your-secret-api-token
      DEFAULT_URI: https://yourdomain.com
    ports:
      - "80:80"
    volumes:
      - ./sqlite:/app/sqlite
After that, you just need to set up the free worker in the Cloudflare dashboard following the instructions from the repository and link it to your container via an auth token. Once running, the web interface is accessible in the browser. You can manage emails and manually clean the database through the admin panel using the default login [email protected].
Things to Keep in Mind
The README in the repository is still brief, and the project doesn't have many stars, so minor rough edges are possible. Since SQLite is used as storage, the service is clearly designed for personal use or a small team of testers, not for thousands of concurrent users.
For local QA tasks, test automation, and personal spam protection, it's a great find that saves you from dealing with complex mail servers.
関連プロジェクト